About this deal
Using bead-on-bead acrylics involves a similar process. However, instead of applying an even coating of the substances, you apply small beads of adhesive on the parts that you want to join. The curing starts when the components are assembled. Epoxy Resins Step 2: Apply cement to both the pipe and fitting. Use a clean, disposable brush to apply a uniform layer of adhesive around the entire circumference of the pipe and fitting. Make sure to coat the surfaces evenly while being careful not to apply too much cement, as excess cement can cause dripping, mess, and weakening of the joint. To ensure that the adhesive has fully cured before testing the system, use the following guidelines based on the type of adhesive used. The curing time will vary depending on the adhesive you use, but typically it takes 1-2 hours for the glue to set and at least 24 hours for it to fully cure. 5. Do I need to use primer before applying the adhesive?
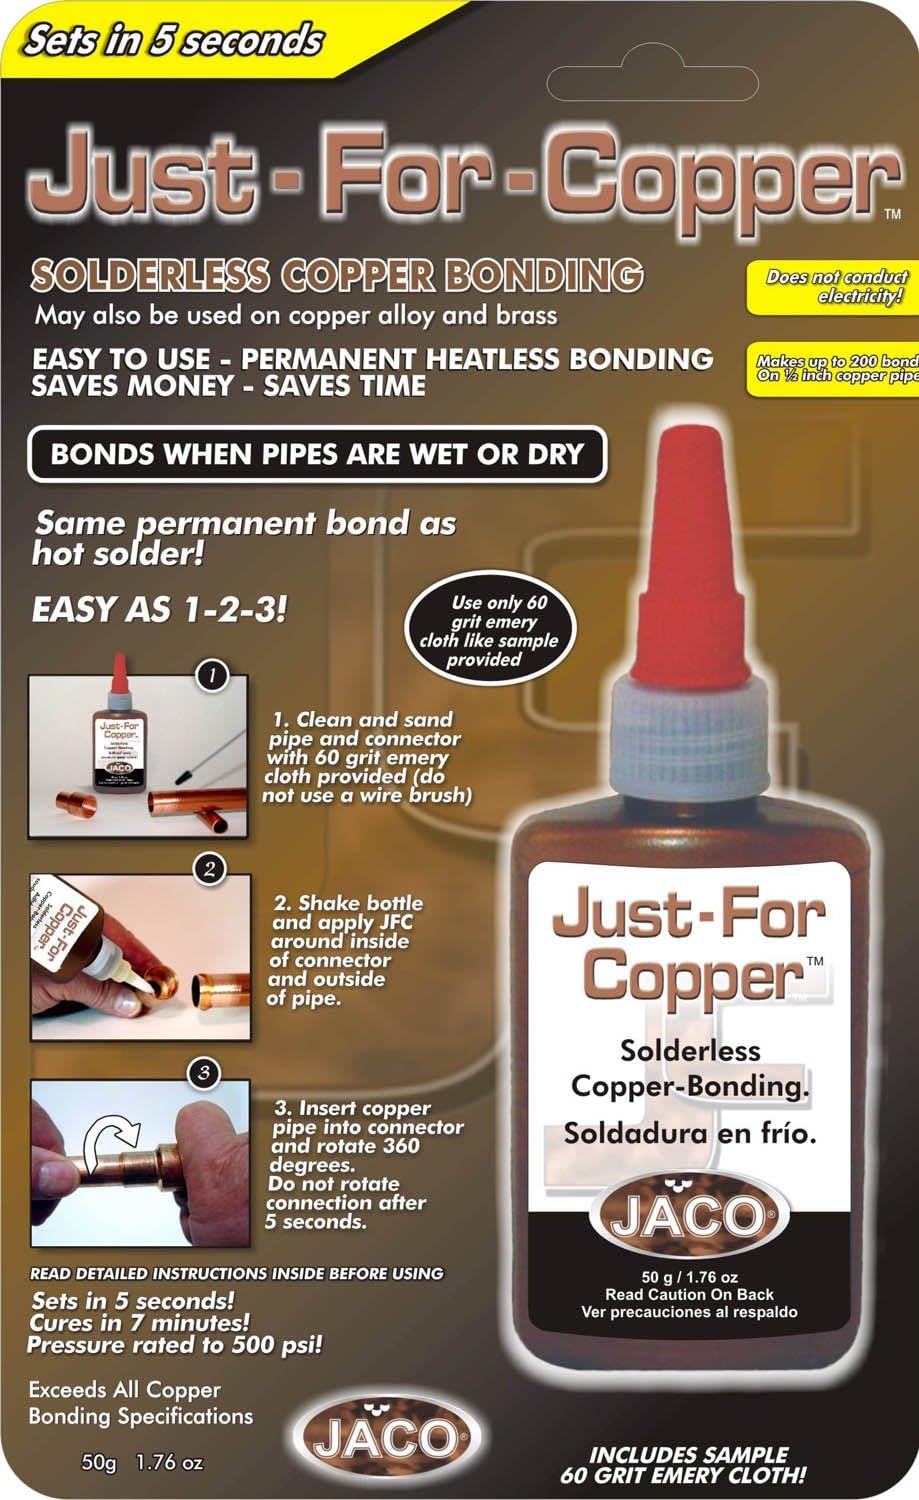
After the curing time has elapsed, it’s crucial to perform a final leak test to ensure that the joint is properly sealed. Use a pressure gauge to test the system by pressurizing it to the maximum allowable limit. If there are no leaks, then the job is done correctly. Meanwhile, in terms of durability, longevity, and material composition, copper wins the competition among all other metal-based pipes. Copper pipes are resistant to both heat and cold, hence a perfect choice for water lines. More so, these can be easily installed above the surface or underground. Start the process with the plastic fitting and swipe a small amount of primer to the end of the pipe as well as the adapter. Then apply PVC cement on both pipe ends before pushing the fitting on the plastic pipe. Twist a little and keep it steady for a couple of seconds to ensure that the cement sets. To ensure a safe and effective glueing process, it is important to have an appropriate workspace set up. When working with adhesive, it can be messy and difficult to clean up once it has dried, so it is best to designate a specific area for glueing copper pipes.Always allow the adhesive to fully cure before using the bonded parts. For example, after using adhesive to bond copper pipe fittings, wait at least 24 hours before running water through the pipes. Dust Mask: If you’re working in an area with poor ventilation, it’s recommended that you wear a dust mask to protect your lungs from inhaling any hazardous chemicals found in the adhesive or any dust or debris from preparing the pipes.
Gloves: Wear gloves that are made of durable, non-porous material to protect your hands from any type of irritant or damage from the adhesive. Gloves may also help to create a stronger bond between the copper pipes, as they will prevent oils and dirt from your skin from contaminating the surface.Furthermore, one of the key characteristics of Gorilla Glue is its ability to expand as it cures. While this expansion can be advantageous in certain situations, it becomes problematic when used on copper pipes. The expanding glue exerts pressure on the pipe joints and fittings, increasing the risk of leaks or damage to your plumbing system. This kind of risk is simply not worth taking when it comes to something as crucial as your plumbing. Curing and testing involves allowing the adhesive to cure for the appropriate amount of time and then conducting a leak test to ensure the bond is strong. Used to join copper pipes to other types of pipes like PVC or ABS pipes. This adhesive has a special formula that can bond two different materials together. When you are ready to start gluing the pipes, the first step is to apply primer and cement. Primer is used to prepare the surface of the copper pipes and fittings, while cement (also known as adhesive) is used to bind them together. It is not suitable for flexible pipe (such as coiled 8mm or 10mm copper heating pipe) because it cannot be guaranteed that flexible pipe will not be slightly dented, especially when cut. This means the gap between pipe and fitting might be too large for the weld to work properly. Cold copper welding requires pipe and fittings to have very close tolerances and this can only be guaranteed with rigid pipe.
Prioritizing safety is crucial when gluing copper pipes. Before you start any plumbing project, it’s essential to take the necessary safety precautions to prevent accidents and injuries. Whether you’re a novice or an experienced plumber, you must follow some basic safety guidelines to ensure your well-being and the success of your project. In this section, we will discuss the protective gear and workspace requirements you need before starting the project. It’s important to remember that failing to take adequate safety measures can lead to severe injuries, which may require medical attention. So, let’s talk about the necessary precautions you need to take before gluing copper pipes together. Protective GearTo ensure long-lasting and dependable results for your plumbing needs, it is advisable to seek professional assistance. Professionals employ specialized techniques such as soldering or brazing, which involve melting a metal alloy onto the joint. These methods create a strong bond that can endure high pressures and temperature fluctuations, ensuring the longevity of your copper pipes. Temperature Resistance of Gorilla Glue
 Great Deal